
So, your LG dryer decided to stop spinning, huh? That can be super frustrating, especially when you’ve got a pile of damp clothes waiting to dry. But don’t worry—This article is here to help. Whether it’s a small fix you can handle yourself or something that might need a pro, we’ll walk you through some troubleshooting steps to get your dryer back on track.
Key Takeaways
- Check the drive belt—it might be broken or loose.
- Inspect the drum rollers; they could be worn out.
- Make sure the power supply and door switch are working.
- Look for mechanical issues like a faulty idler pulley or damaged drum bearings.
- If all else fails, consider calling a certified LG technician.
Common Reasons Your LG Dryer Won’t Spin
Inspecting the Drive Belt for Damage
The drive belt is like the heart of your dryer’s spinning mechanism. Over time, it can stretch out, crack, or even snap entirely. When this happens, the drum won’t rotate at all. To check it, you’ll need to unplug the dryer and remove the front panel. Look for signs of wear like fraying or splits. If the belt feels loose or appears damaged, it’s time for a replacement.
Checking the Drum Rollers for Wear
The drum rollers help the drum rotate smoothly. If these become worn out or stuck, the dryer might make odd noises or stop spinning altogether. To inspect them, remove the drum and give each roller a spin by hand. They should move freely without resistance. If they’re stiff or wobbly, they need to be replaced. Worn drum rollers can cause significant issues, so don’t overlook this step.
Testing the Motor Functionality
The motor is what powers the drum to spin. If it’s faulty, you might notice a humming sound when the dryer is on, but the drum doesn’t move. You can test the motor by turning the drum manually—if it’s hard to move, the motor could be the problem. In this case, you’ll likely need a professional to replace it. Motors are complex and not something most people can fix at home.
A dryer that won’t spin can often be traced back to these common issues. Start with the simplest fixes, like examining the drive belt, before moving on to more involved repairs. Patience and a methodical approach can save you a lot of time and frustration.
How to Diagnose Electrical Issues in Your LG Dryer
Examining the Power Supply Connection
First off, you need to make sure your LG dryer is actually getting power. It sounds basic, but sometimes the simplest things trip us up. Check if the dryer is plugged in properly—sometimes the cord can wiggle loose. Next, inspect the outlet. You might want to plug in another device, like a lamp, to see if it works. If it doesn’t, you could be dealing with a tripped breaker or a blown fuse.
Testing the Door Switch for Continuity
The door switch is a safety feature that stops the dryer from running if the door is open. If this switch is faulty, your dryer might not spin even if everything else is fine. To test it, you’ll need a multimeter. Disconnect the dryer from power, locate the door switch (usually near the door frame), and check if the switch has continuity. No continuity? Time to replace it.
Resetting the Dryer’s Circuit Breaker
Sometimes, the issue isn’t the dryer at all but your home’s electrical system. A tripped circuit breaker is a common culprit. Head over to your breaker box and look for the switch labeled for your dryer. If it’s flipped to the middle or off position, reset it by turning it all the way off and then back on. If this keeps happening, you might want to consult an electrician or consider replacing a blown fuse if that’s the issue.
Electrical issues can feel overwhelming, but tackling them step by step will help you pinpoint the problem without unnecessary stress.
For assistance with your LG dryer, feel free to contact us for expert troubleshooting and support.
Mechanical Components That May Cause Spinning Problems
Identifying a Faulty Idler Pulley
The idler pulley is a small but important part of your LG dryer. It keeps the drive belt tight, which allows the drum to spin smoothly. If the pulley is damaged or worn out, the belt may slip or even come off entirely. Signs of a bad idler pulley include squeaking or grinding noises when the dryer runs. To check it, you’ll need to remove the dryer’s front panel and inspect for cracks, wear, or looseness. If it’s faulty, replacing it is usually the best option.
Inspecting the Drum Glides for Wear
Drum glides are small pads that help the drum rotate quietly and evenly. Over time, these glides can wear down, leaving the drum unbalanced. This can cause thumping noises or even prevent the drum from spinning at all. Look for signs of wear, such as thinning material or grooves in the glides. Replacing worn-out drum glides is a straightforward fix that can restore your dryer’s performance.
Checking the Drum Bearings for Damage
The drum bearings support the back of the drum, making sure it spins freely. If the bearings are damaged, you might hear a loud rumbling or grinding sound when the dryer is in use. To inspect them, you’ll need to access the rear of the dryer and manually rotate the drum. If it feels stiff or makes unusual noises, the bearings may need to be replaced. Ignoring this issue could lead to more serious damage over time.
Regularly inspecting these components can save you from bigger, costlier repairs down the road. A little maintenance goes a long way in keeping your LG dryer running smoothly.
- For a non-turning drum, remember to check the support rollers for wear. Replacing all worn rollers at once is often the best approach.
- Don’t forget to examine the drive belt and motor while you’re at it. These parts often fail in tandem with the components above.
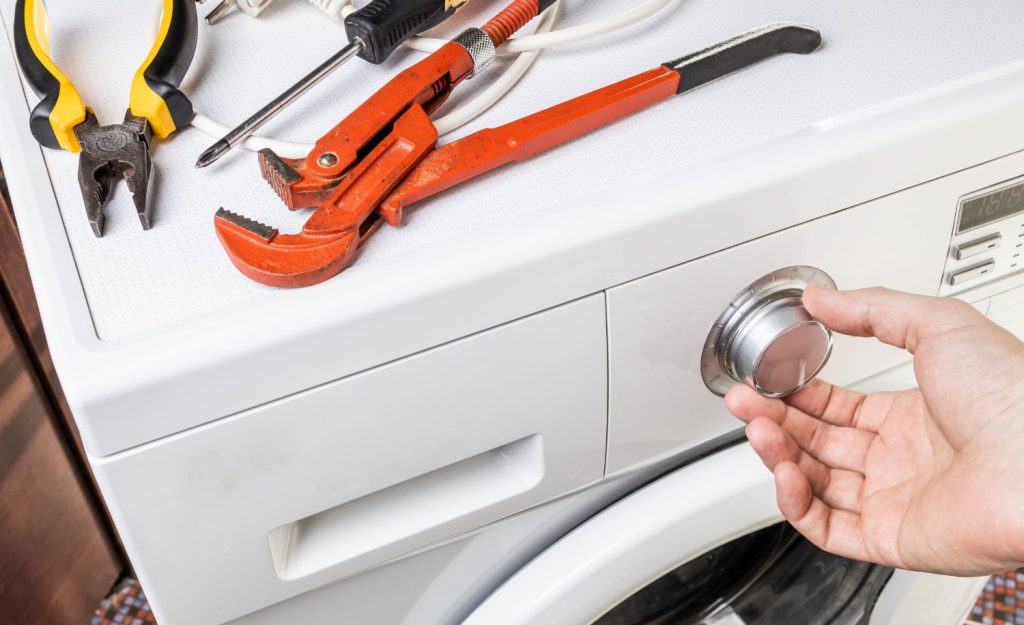
Steps to Safely Disassemble Your LG Dryer
Gathering the Necessary Tools
Before you even think about taking apart your dryer, make sure you have the right tools. Having the correct tools makes everything smoother and safer. At a minimum, you’ll need:
- A Phillips and flathead screwdriver
- A putty knife or a similar flat tool
- A pair of work gloves
- A socket wrench set
You might also want to keep a small container handy to hold screws and small parts. Trust me, losing a screw halfway through is a headache you don’t want.
Removing the Dryer’s Front Panel
Start by unplugging your dryer and turning off the gas supply if it’s a gas model. Safety first! Then, follow these steps:
- Locate the screws holding the top panel in place. These are usually at the back.
- Slide the top panel off to access the front panel screws.
- Use your screwdriver to remove the screws securing the front panel.
- Carefully disconnect any wires attached to the panel, like those for the door switch.
- Lift the panel off and set it aside.
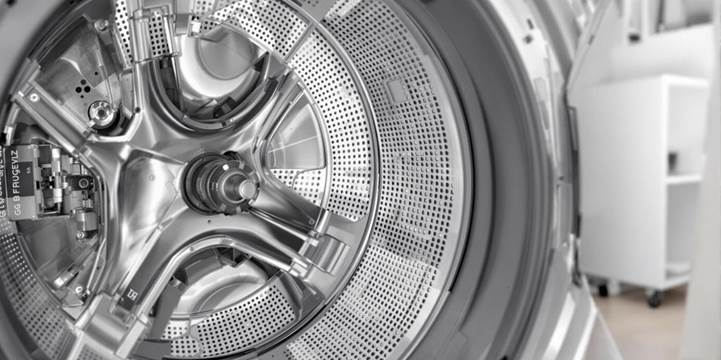
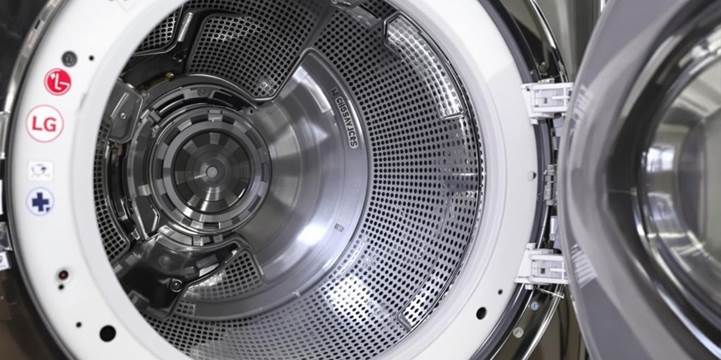
Accessing the Internal Components
With the front panel removed, you’ll have a clear view of the internal parts. Here’s what to do next:
- Identify the key components like the drum, motor, and belt.
- If you’re working on a specific issue, such as a blocked airflow, take a moment to inspect the vent system. Blockages can easily cause problems like your LG dryer taking too long to dry clothes.
- Keep track of everything you remove so you can reassemble it later.
Taking apart your dryer might seem intimidating, but breaking it into these smaller steps makes it manageable. Just take your time and stay organized.
Preventative Maintenance Tips for Your LG Dryer
Cleaning the Lint Filter Regularly
One of the simplest but most important tasks you can do is clean the lint filter after every load. A clogged lint filter not only reduces efficiency but can also be a fire hazard. To clean it, just slide it out, remove the lint by hand or with a soft brush, and pop it back in. If you notice any residue, like fabric softener buildup, wash the filter with warm soapy water and let it dry completely before reinserting.
Inspecting and Cleaning the Vent System
Over time, lint and debris can accumulate in the dryer vent system, which could lead to overheating or poor drying performance. Inspect your vent system at least once a year and clean it thoroughly. Use a vent cleaning brush or vacuum attachment to remove buildup. If you find the process overwhelming, consider hiring a professional to do it for you. Regular dryer maintenance is key to keeping your appliance running smoothly.
Lubricating Moving Parts Periodically
Your dryer’s moving parts—like the drum rollers and idler pulley—can wear out over time if they’re not maintained. Periodically check these components and apply a small amount of high-temperature lubricant if needed. This helps reduce friction and ensures the parts work efficiently. Just make sure to follow your LG dryer’s manual for any specific recommendations on lubrication.
Staying on top of these maintenance tasks can extend the life of your LG dryer and help it perform at its best. A little effort now can save you from costly repairs down the road.
When to Call a Professional for Dryer Repairs
Recognizing Signs of Complex Issues
Sometimes, fixing your LG dryer at home isn’t the best idea. If you hear strange grinding noises, notice the drum isn’t spinning at all, or detect a burning smell, it’s probably time to step back. These could point to serious problems like motor failure or electrical malfunctions. Attempting to fix these without proper expertise may cause more harm than good.
Here are a few signs that scream “call a pro”:
- The dryer shuts off mid-cycle repeatedly.
- There’s no heat even after troubleshooting heating components.
- You notice sparks or exposed wires while inspecting the dryer.
For advanced issues like motor replacement, heating problems, or even gas leaks, it’s safer to rely on professional technicians.
Understanding Warranty Coverage
Before you grab the phone to call for help, dig out your warranty paperwork. Many LG dryers come with warranties that cover specific parts or repairs for a set period. If your dryer is still under warranty, you might not have to pay out of pocket for the fix. Just make sure you follow the terms—like using authorized repair services—or you could void the coverage.
Finding a Certified LG Technician
When it’s time to bring in the experts, don’t just call the first repair service you find online. Look for certified LG technicians who are trained to handle your specific dryer model. They’ll have the right tools, replacement parts, and know-how to get the job done efficiently. Plus, using a certified tech often ensures the repair is done according to LG’s standards, which can help maintain the appliance’s lifespan.
If your dryer’s problem feels over your head or seems dangerous to tackle, don’t hesitate to call in the pros. It’s better to spend a little extra now than risk damaging your appliance—or worse, injuring yourself.
If your LG dryer won’t spin and you need professional assistance, Call us for expert support.
Troubleshooting Tips for Common LG Dryer Error Codes
Decoding the Error Messages
If your LG dryer flashes an error code, don’t panic. These codes are like the dryer’s way of telling you what’s wrong. For instance, “d80” means there’s a vent blockage, while “tE” points to a temperature sensor issue. Understanding these codes can save you time and help you decide whether to fix it yourself or call a technician.
Here’s a quick reference table for some common LG dryer error codes:
| Error Code | Meaning | Suggested Action |
| d80 | Vent blockage | Check and clean the vent system |
| tE | Temperature sensor issue | Inspect or replace the sensor |
| PF | Power failure | Restart the dryer |
Resetting the Dryer to Clear Errors
Sometimes, a simple reset is all your dryer needs. Here’s how to do it:
- Turn off the dryer and unplug it from the power outlet.
- Wait for at least 30 minutes to let the system reset.
- Plug it back in and start a new cycle.
If the error persists, it might indicate a deeper issue that needs attention. For example, if “d80” keeps showing up, it’s time to thoroughly inspect the vent system or unplug the connector for 30 minutes to see if that resolves the issue.
Addressing Sensor-Related Issues
Sensors are vital for your dryer to work efficiently. A faulty sensor can trigger error codes like “tE” or “HS.” Here’s what to do:
- Check the sensor for visible damage or dirt.
- Clean the sensor gently with a soft cloth.
- If cleaning doesn’t help, consider replacing the sensor.
Regular maintenance, like cleaning the lint filter and vents, can prevent many of these issues from happening in the first place.
By keeping these tips in mind, you can tackle common LG dryer error codes without too much hassle. If all else fails, don’t hesitate to call a professional for help.
Wrapping It Up
So, there you have it—some simple steps to try when your LG dryer decides it doesn’t want to spin. It might be something as small as a loose belt or a door that’s not closing all the way. If you’ve gone through the list and it’s still not working, don’t stress too much. Sometimes, it’s just time to call in a pro. But hey, at least now you’ve got a better idea of what might be going on. Hopefully, you’ll be back to drying your clothes in no time!
Frequently Asked Questions
Why won’t my LG dryer spin?
Your LG dryer might not spin because of a broken drive belt, worn-out drum rollers, or a faulty motor. Check these parts to figure out the issue.
How do I know if the dryer’s motor is broken?
If you hear a humming noise or the drum doesn’t move, the motor might be the problem. Testing it with a multimeter can confirm if it’s faulty.
Can I fix a broken drive belt myself?
Yes, you can replace a broken drive belt on your own if you follow the dryer’s manual. Make sure to unplug the dryer before starting any repairs.
How do I clean the dryer’s vent system?
Disconnect the vent, then use a vacuum or a vent cleaning brush to remove lint buildup. This helps the dryer work better and prevents fire risks.
What does it mean when my LG dryer shows an error code?
Error codes tell you what’s wrong with the dryer. Check the manual to understand the code and follow the steps to fix the issue.
When should I call a professional to fix my dryer?
Call a professional if the problem is too hard to fix, like electrical issues or major part replacements. Also, check if your dryer is still under warranty.